


Photos by: Rick Seitz
It’s Time to Correct the Biggest Issue with Project True Blue: The Brakes

Where we left off last with Project True Blue, we had just completed a slew of small tune-up tasks. With the oil and filter changed, fuel filter and air filter replaced, and a healthy amount of fuel injector cleaner run through it, the engine is finally feeling strong again. We’re almost ready to get it to the dyno, but we actually need to be able to stop (we’re sticklers for safety), to get it there.
The menacing issues with the brakes were a part of the deal when we purchased True Blue for a pretty decent price, when considering the condition of the Mustang. True Blue’s brakes had just had it; the major issue was that the left front caliper was seriously dragging. It was so bad, that it prevented the car from even being drivable. With the car in gear and the brake pedal released, the Mustang wouldn’t even move unless you gave it quarter-throttle.
With the Mustang sitting for a number of years, the rotors were heavily rusted and most of them were warped. It didn’t make much sense to keep them around, and the only real solution was a complete replacement of the pads, rotors, calipers and brake hoses.
We’re ready to start working on the suspension, handling, and overall ride qualities, but we have to fix this serious issue to even get a minimal amount of seat time.

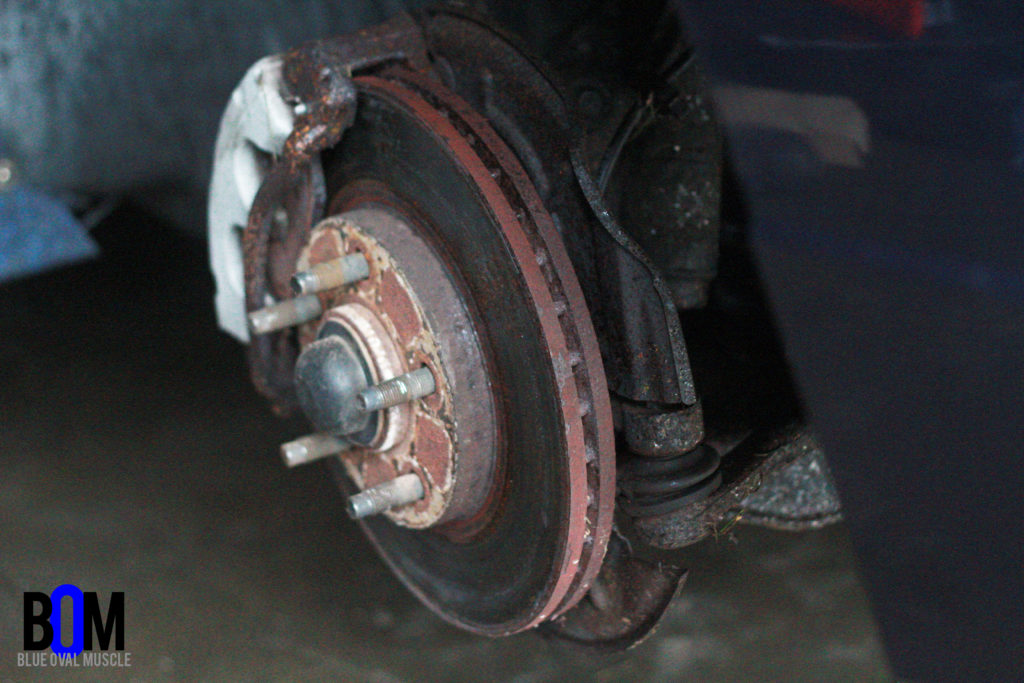
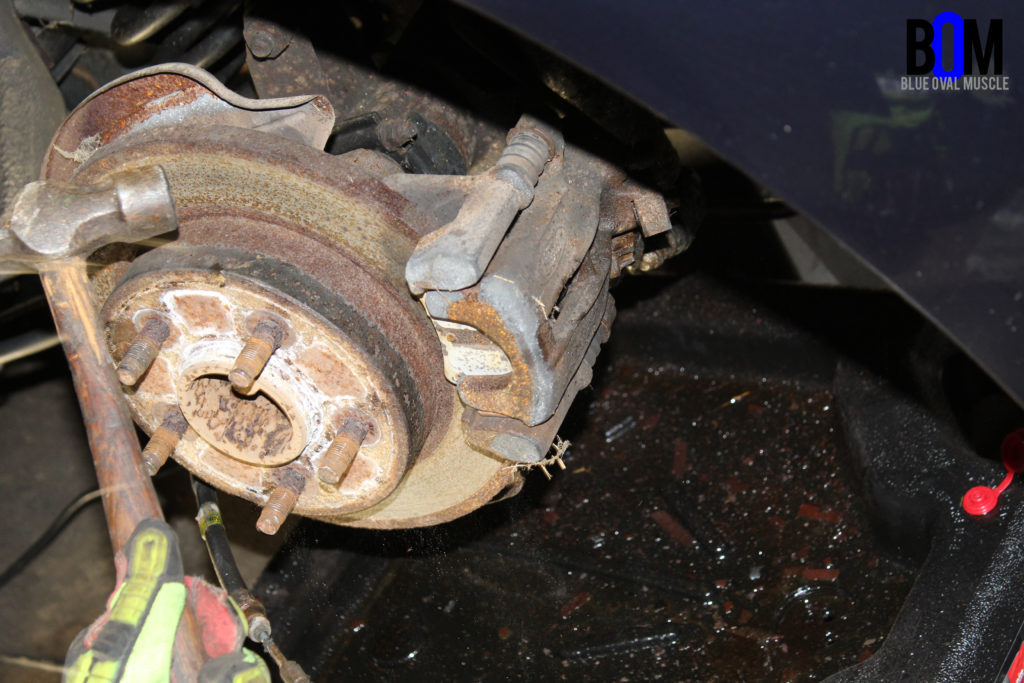
Each corner of True Blue had a varying degree of brake damage, going bad to worse, but none good. This nasty brake situation is a combination of a half-hearted brake job (didn’t bleed the lines or turn the old rotors) that had previously been done on the ‘Stang, coupled with the fact that the car had been sitting outside in the elements for over two years.
It was clear that the best move at this point was to completely re-do the brake setup to make sure the car would be 100% safe to drive on the road; this includes replacing the calipers, pads, and brake rotors. In addition to the safety aspect, we’re also looking to upgrade over what Ford put on the car from the factory, so our friends over at Raybestos came to the rescue.
-
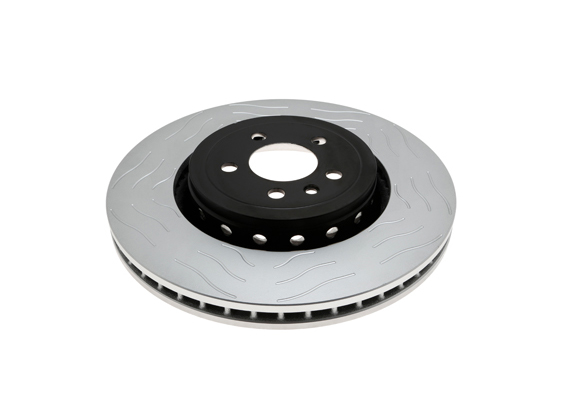
- We upgraded the front and rear rotors with these Raybestos Front Rotor Set (66443PER).
-
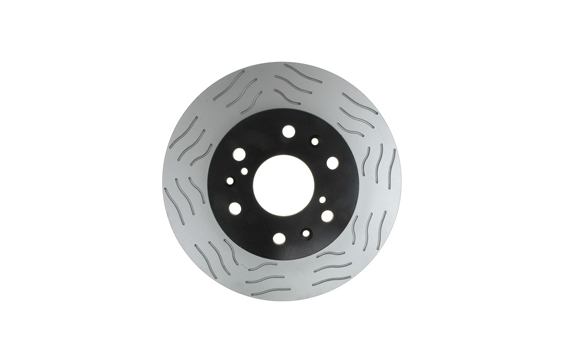
- …and the Raybestos Rear Rotor Set (66448PER). These utilize the correct bolt pattern and spacing, as they’re a stock-type upgrade for our 2001 GT.
-
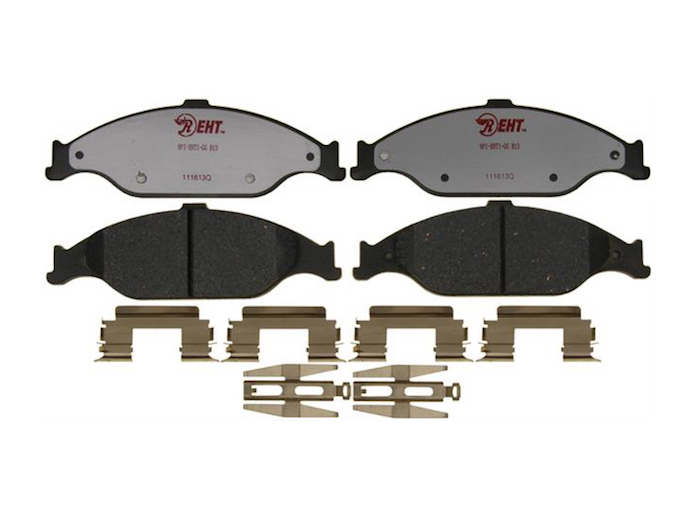
- The Raybestos Element3 pads combine the finest noise- and dust-reducing qualities of a ceramic pad, together with the superior performance and durability of a semi-metallic pad. They’re an amazing, affordable option for the budget racer who wants a great pad for not a ton of money. They come with the pad hardware for an easy and clean install.
-
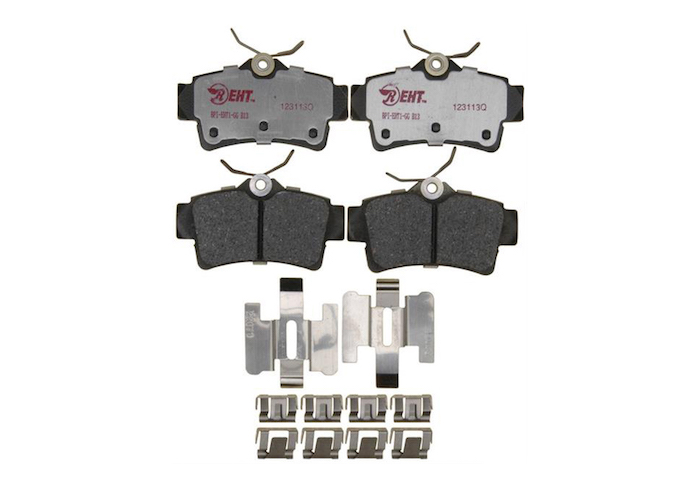
- Raybestos not only offers their Element3 pads for the front, but they also make them for our Mustang’s rear calipers, too! This not only brings the same quality and standards of stopping power to the rear, but offers balanced braking performance at all four corners.
Without having to slow down anything more than stock horsepower at the moment, the Raybestos kit is a great option that offers an upgrade, without blowing the budget. On down the line when we swap to the Coyote engine, we will probably upgrade to a higher-performance brake system, but for now, the goal is to get it on the road, while still improving on the braking system over stock.

This may seem a little counterproductive to do something we already plan on going back to redo, but we have a very specific idea of the steps we want to take with True Blue, and worrying about the brakes being able to stop under extreme conditions and handle the abuse of an autocross event is not on the early stages of the agenda.
-
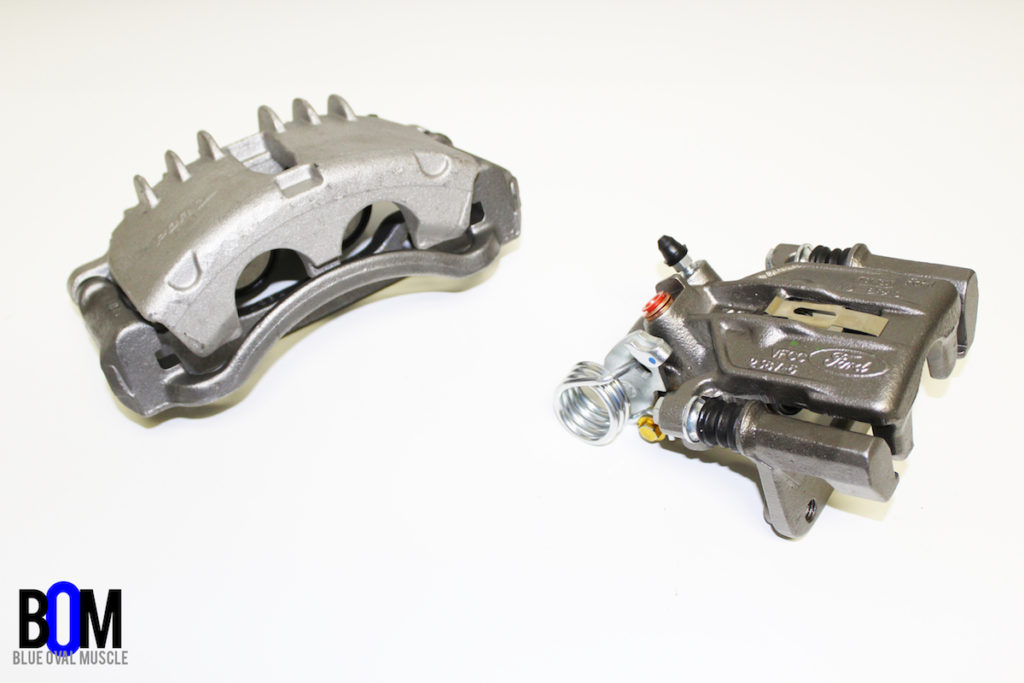
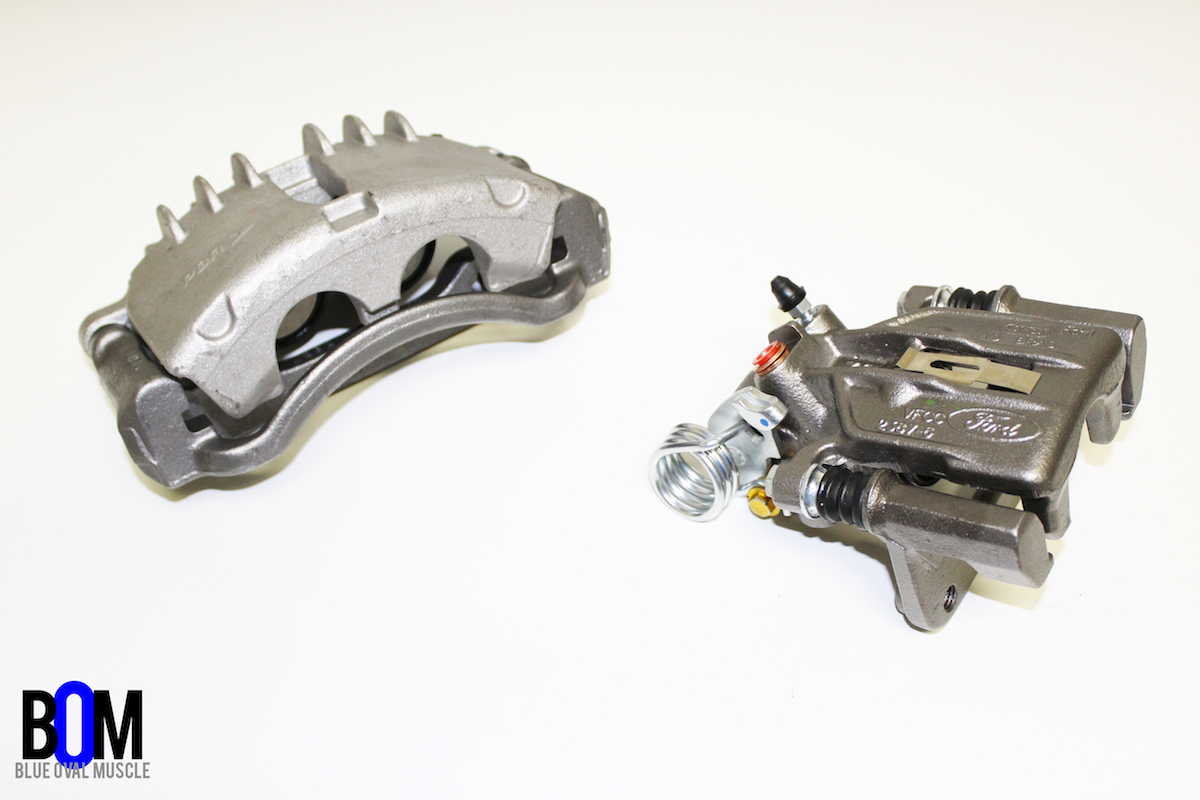
- Raybestos offers SN95 owners these stock-type replacement calipers for all four corners…
-
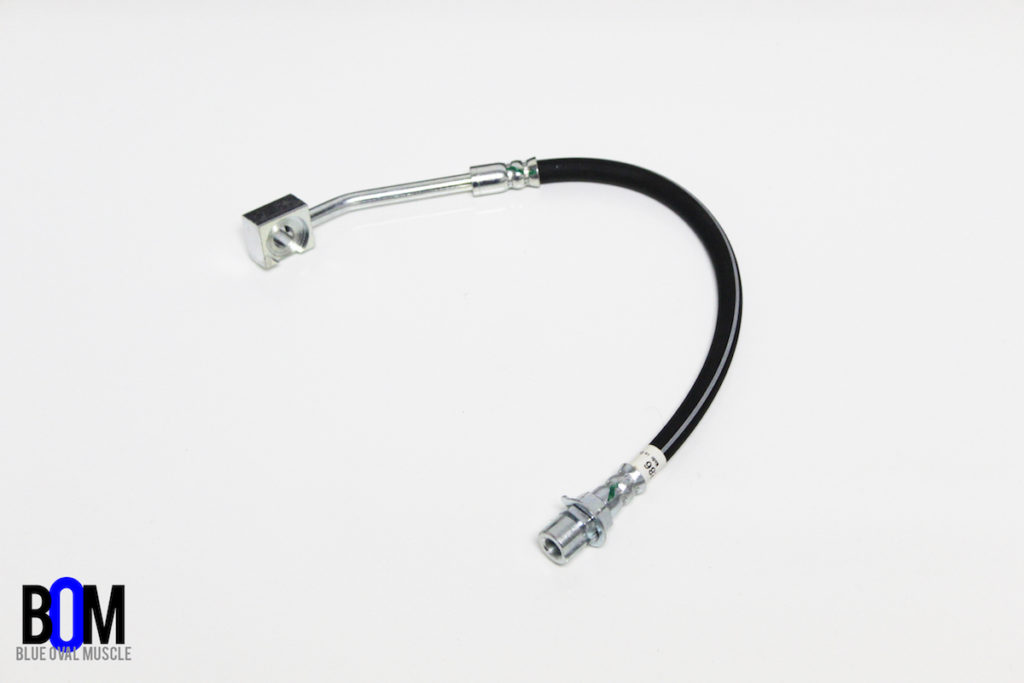
- …and well as front…
-
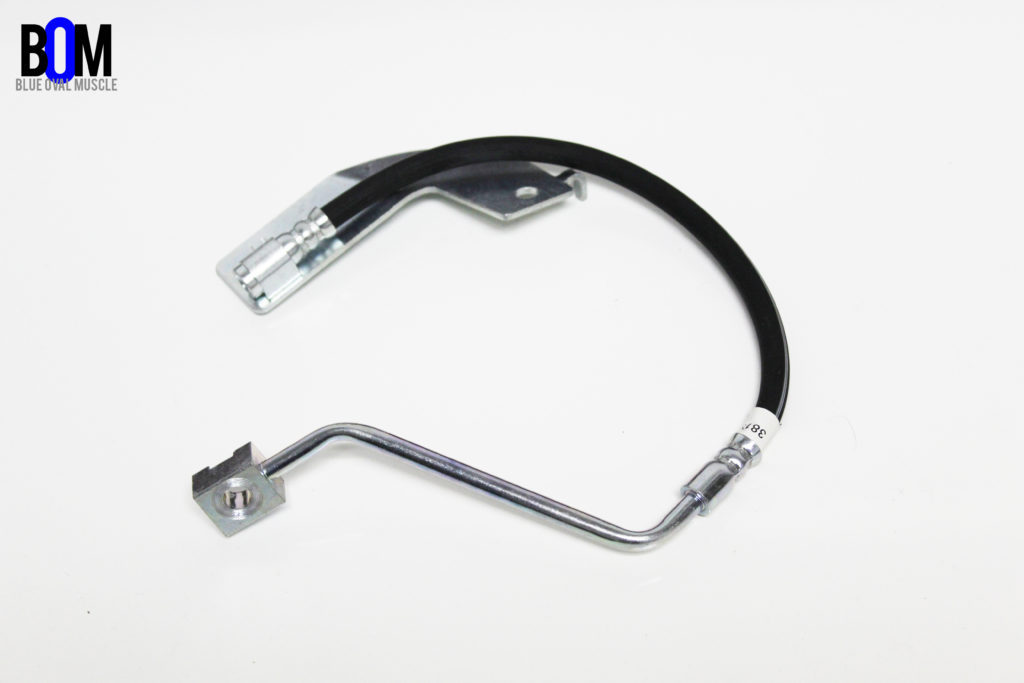
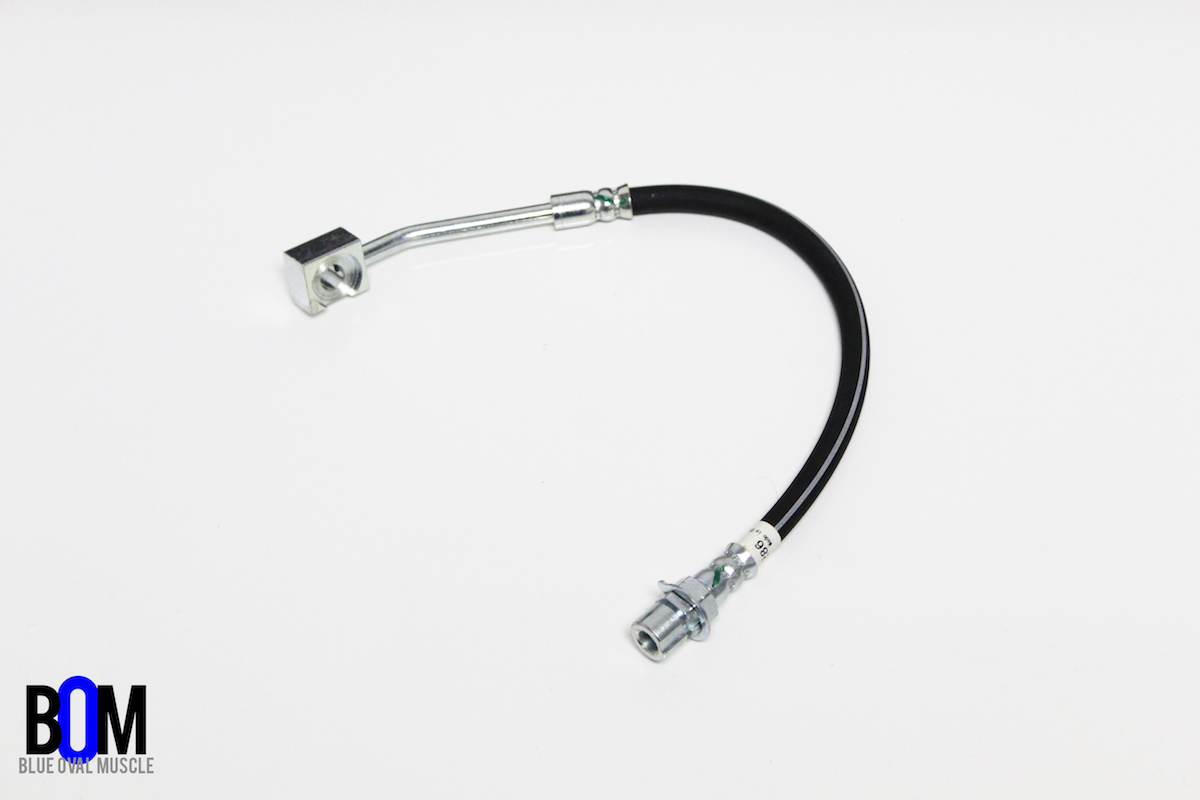
- …and rear brake caliper hose lines, made from high-quality components.

-

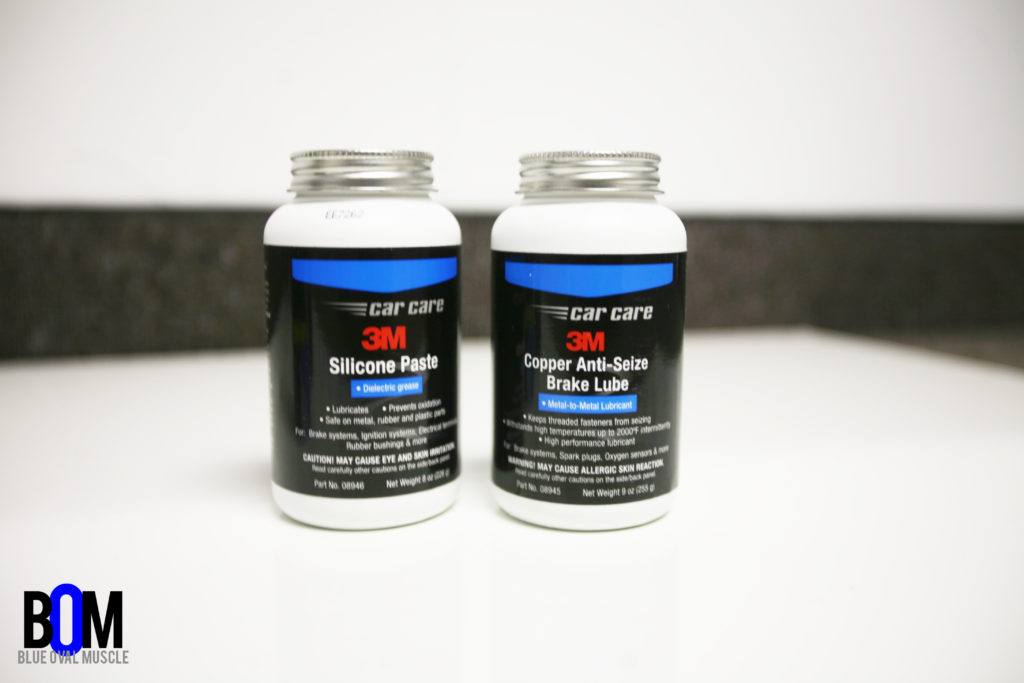
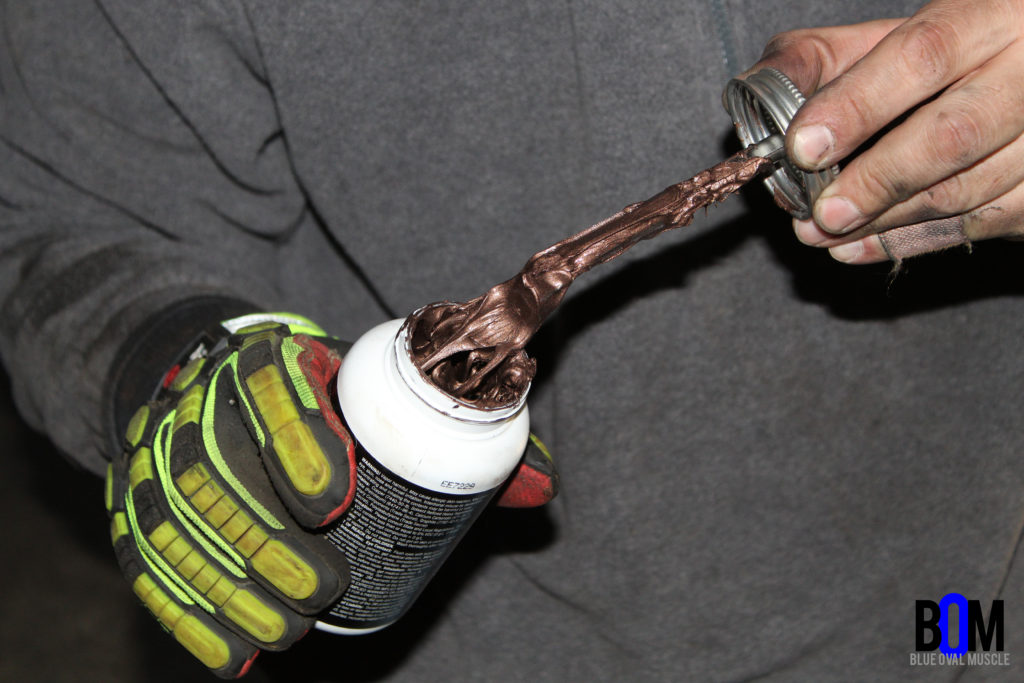
- Since we’re in the middle of a brake job, we felt that it was the perfect opportunity to try out 3M’s brand new line of products. On the list is their new Silicone Paste and Copper Anti-Seize Brake Lube that we’ll be using on the back of each brake pad.
-
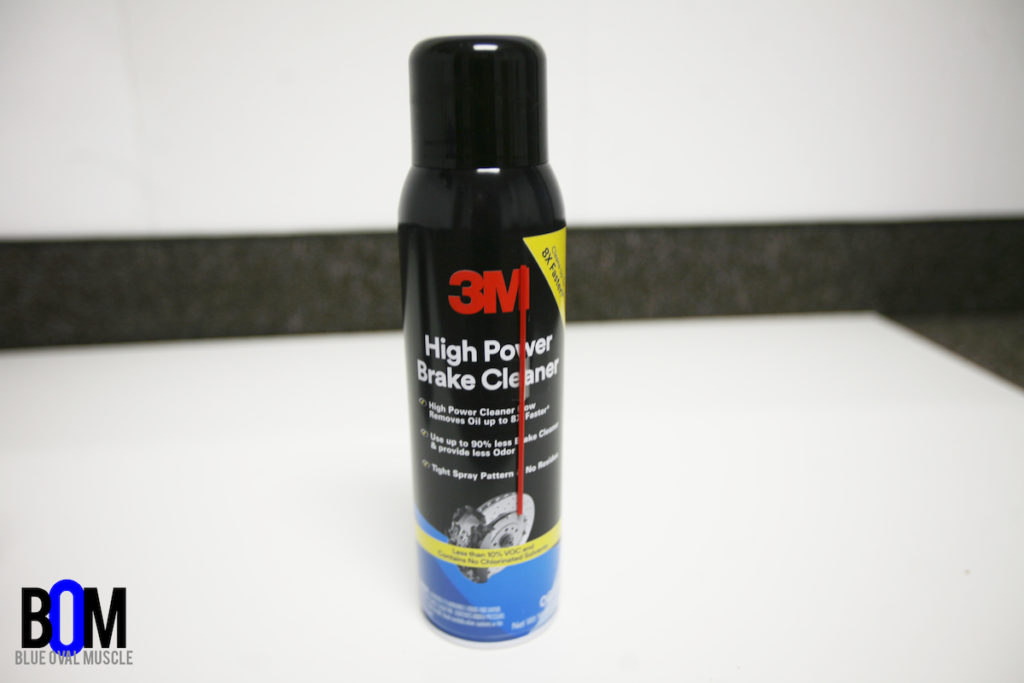
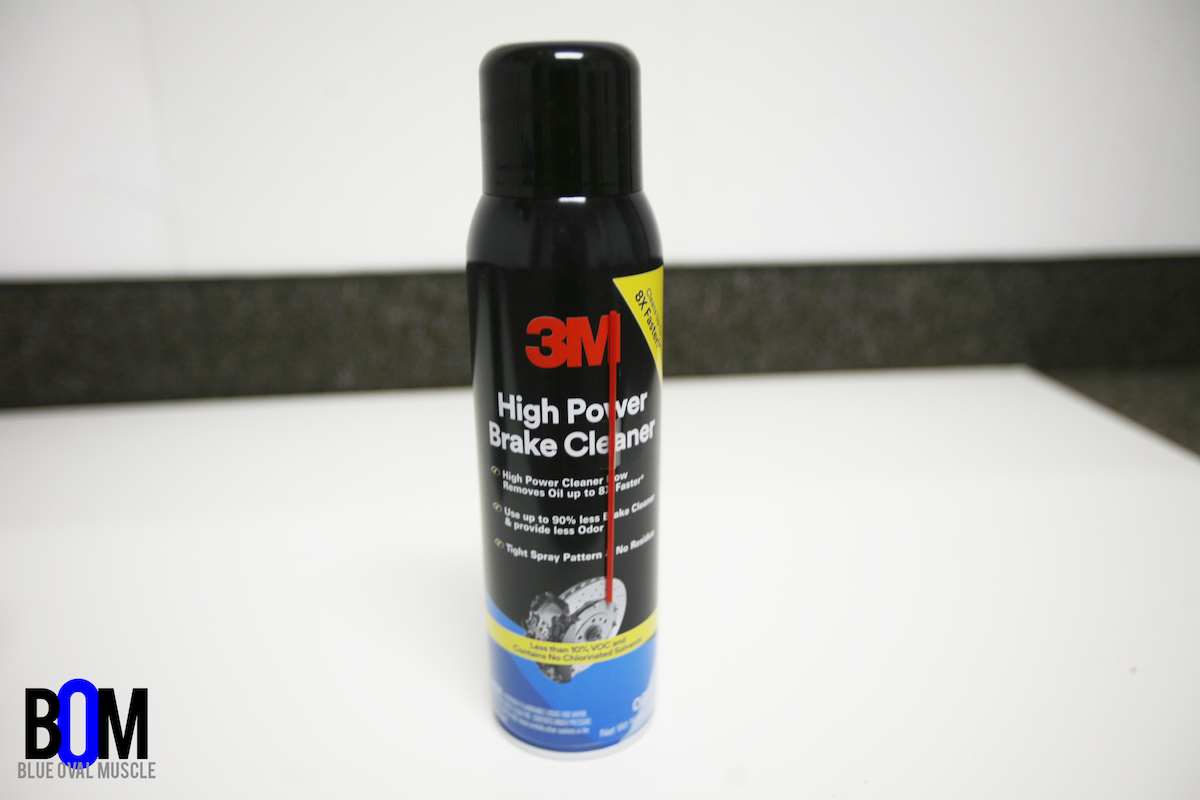
- We also tried 3M High Power Brake Cleaner — that we’ll not only use to clean the protective oil coating off of the rotors, but we’ll use around the Blue Oval Muscle Garage for other projects.
Parts List:
- 3M Car Care Copper Anti-Seize Brake Lube
- 3M Silicone Past and High Power Brake Cleaner
- Raybestos Front Pad Set (EHT804H)
- Raybestos Front Rotor Set (66443PER)
- Raybestos Front Caliper Right (FRC11009)
- Raybestos Front Caliper Rear (FRC11010)
- Raybestos Front Hose Right (BH381286)
- Raybestos Front Hose Left (BH381287)
- Raybestos Rear Pad Set (EHT627H)
- Raybestos Rear Rotor Set (66448PER)
- Raybestos Rear Caliper Right (FRC10545)
- Raybestos Rear Caliper Left (FRC10546)
- Raybestos Rear Hose Right (BH381283)
- Raybestos Rear Hose Left (BH381390)

The difference between the old calipers and new ones is astounding. We didn’t even realize how bad off they were until we were reminded what undamaged ones are supposed to look like. Don’t forget to use the C-clip for the new caliper!
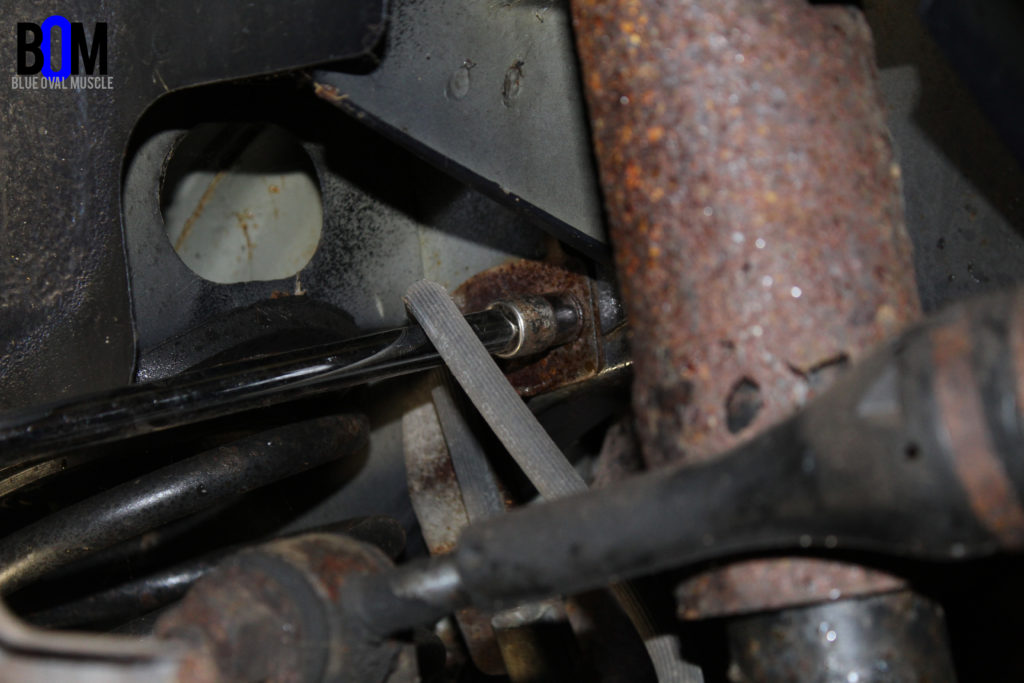
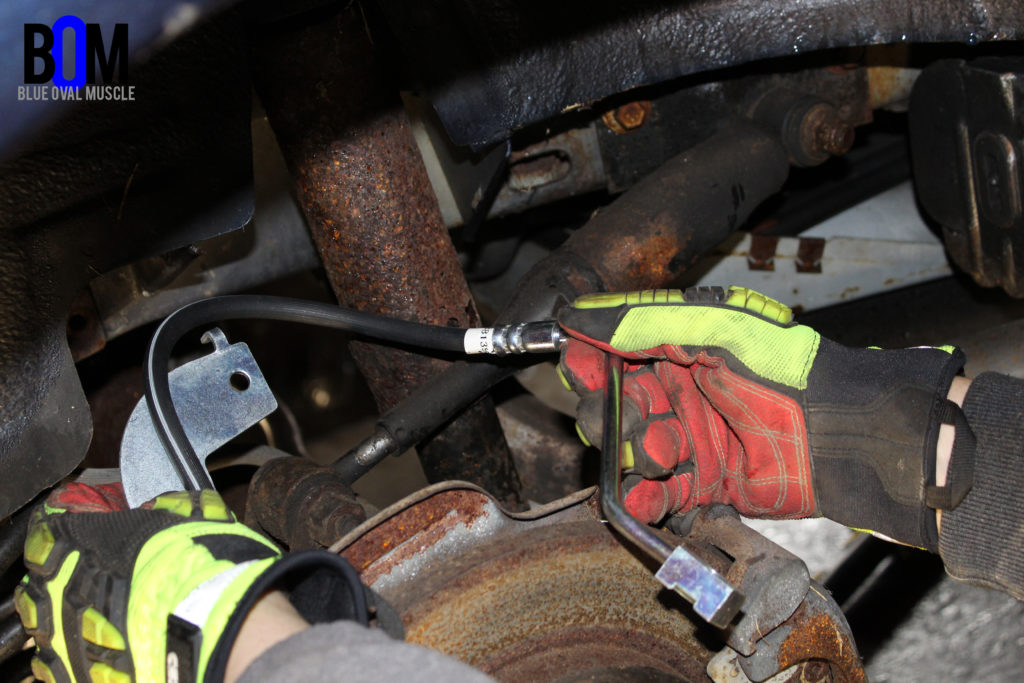
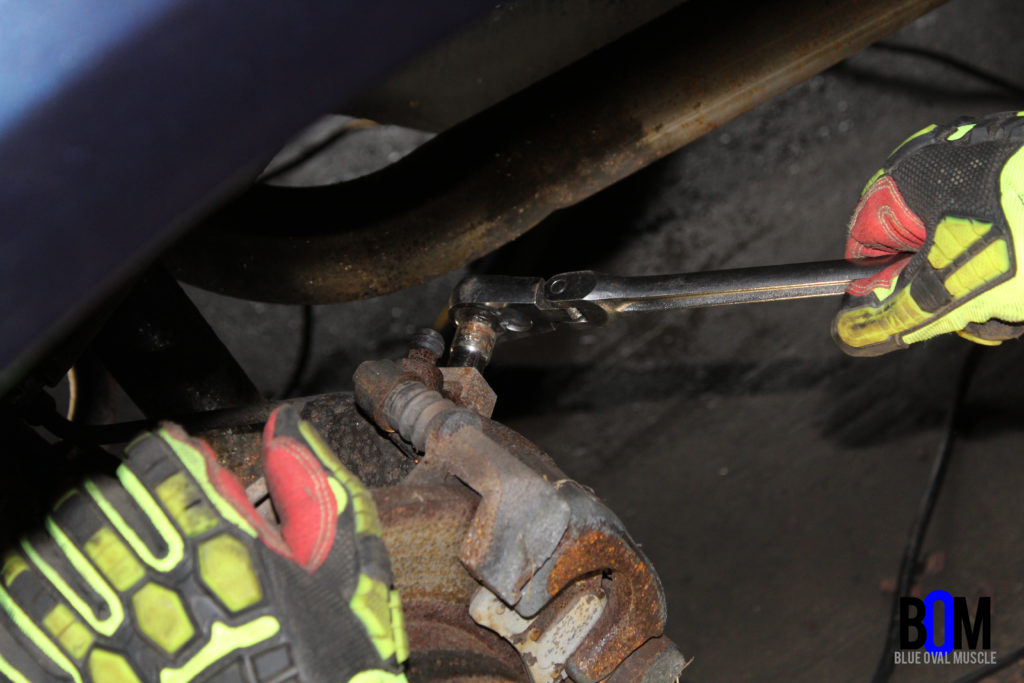
We’re also replacing the brake line hoses, we’re not taking any chances with this thing, and it only takes a few added minutes to take the old ones off and put the new ones on. The lines connect to the caliper, routing to the inner fender mounting bracket.The brake hoses run from the caliper to the main hard brake lines.
-
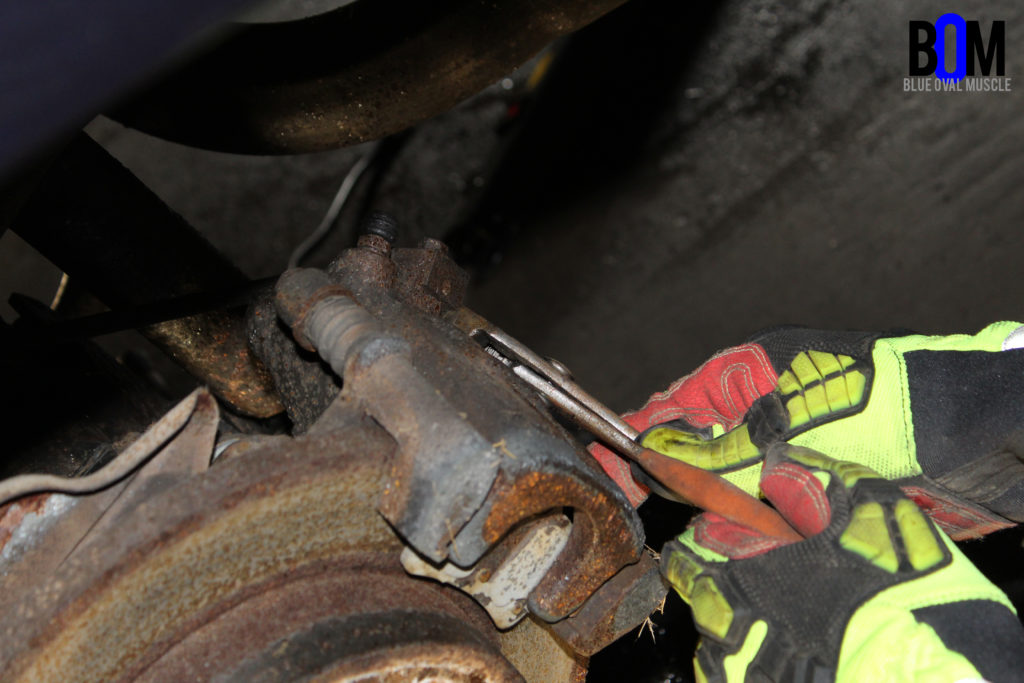
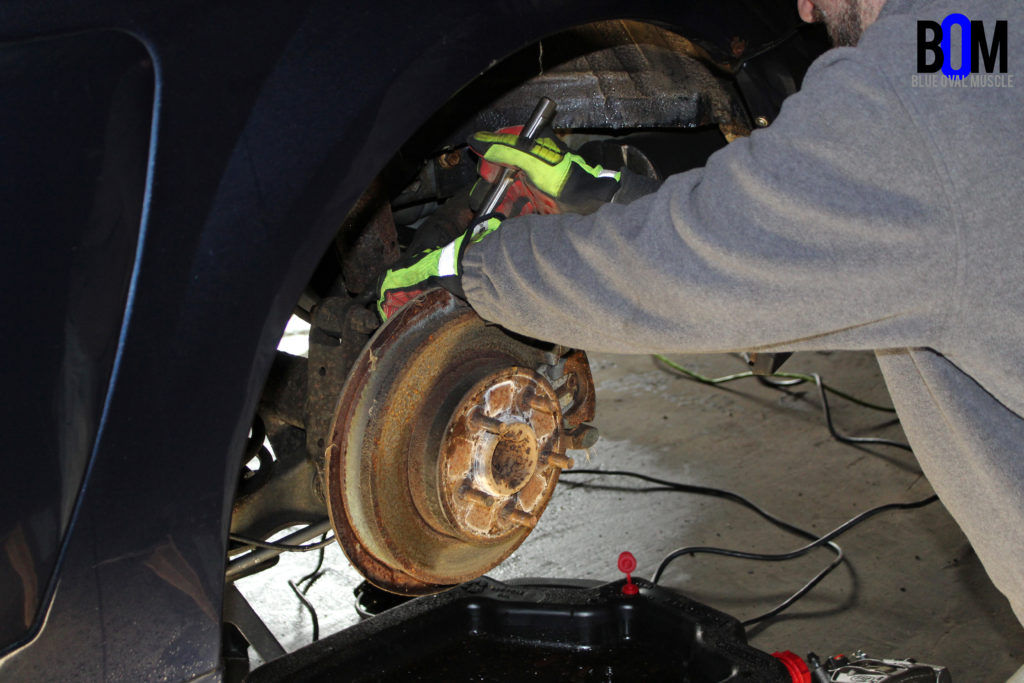
- Removing the old calipers and retorted required some elbow grease and manpower. And a hammer.

-

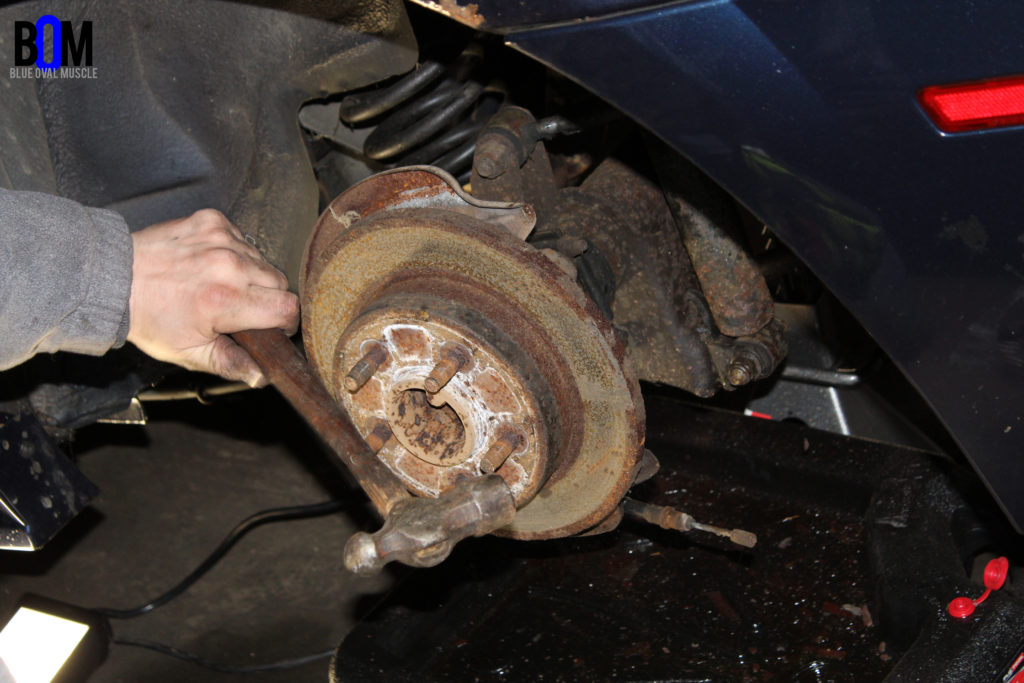
- Not only did we have to utilize the blunt object for caliper removal, but to “tap” off the rotors.
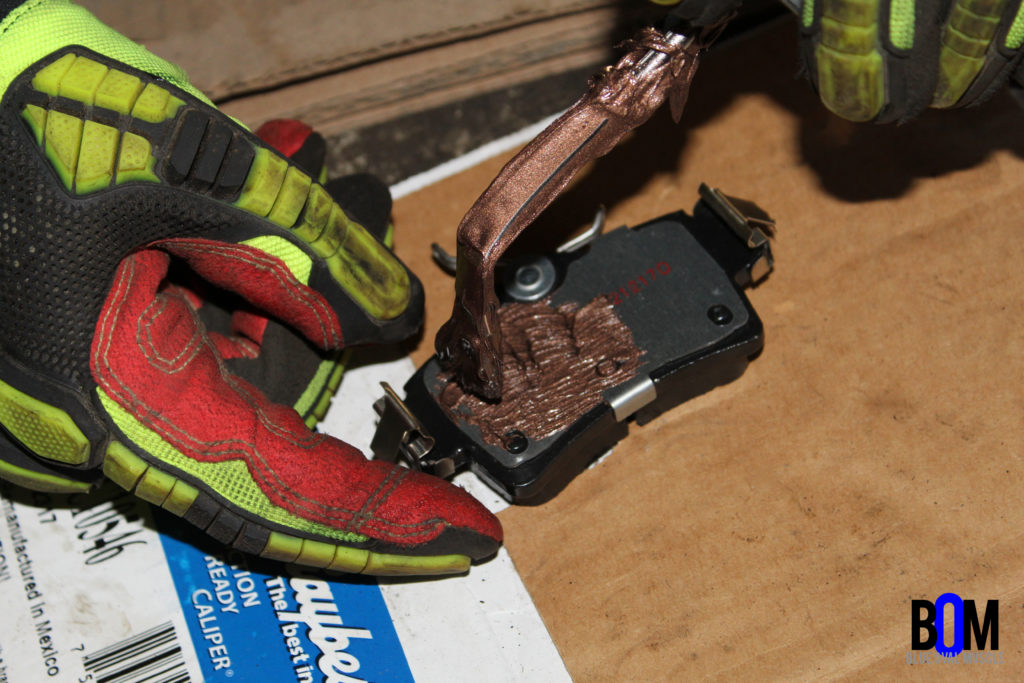
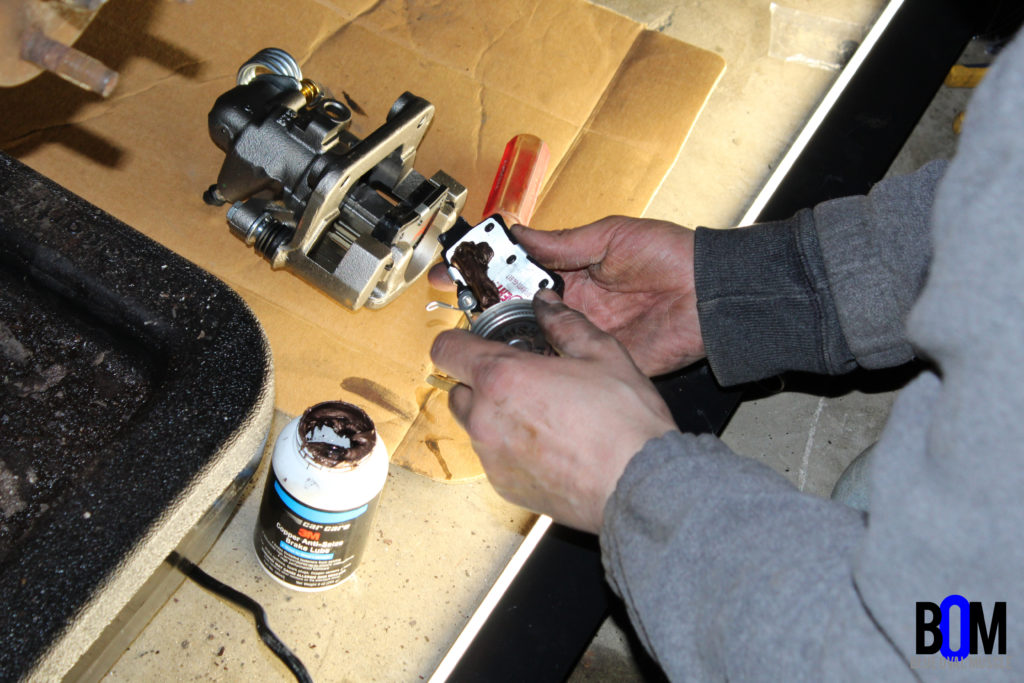
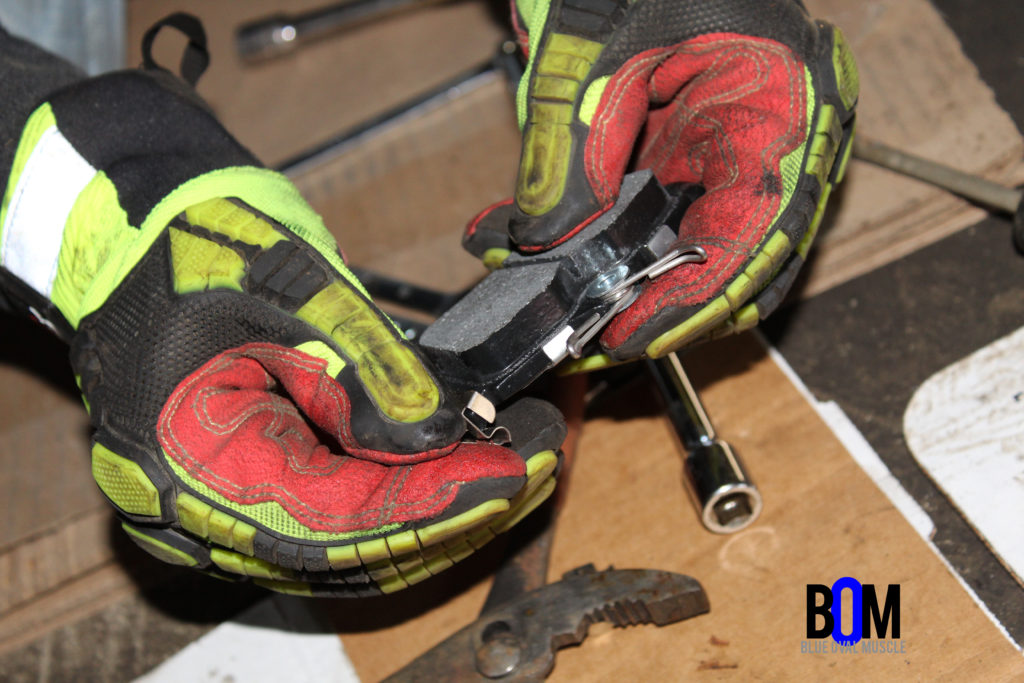
With the old brake calipers, pads, rotors, etc., off, it’s time to prep everything. A healthy layer of anti-seize on the back of the pad is applied so it doesn’t stick to the caliper or make noise.

Even though they’re new, always very thoroughly clean your brake rotors before installation. This is an important step a lot of people skip, then regret it later.

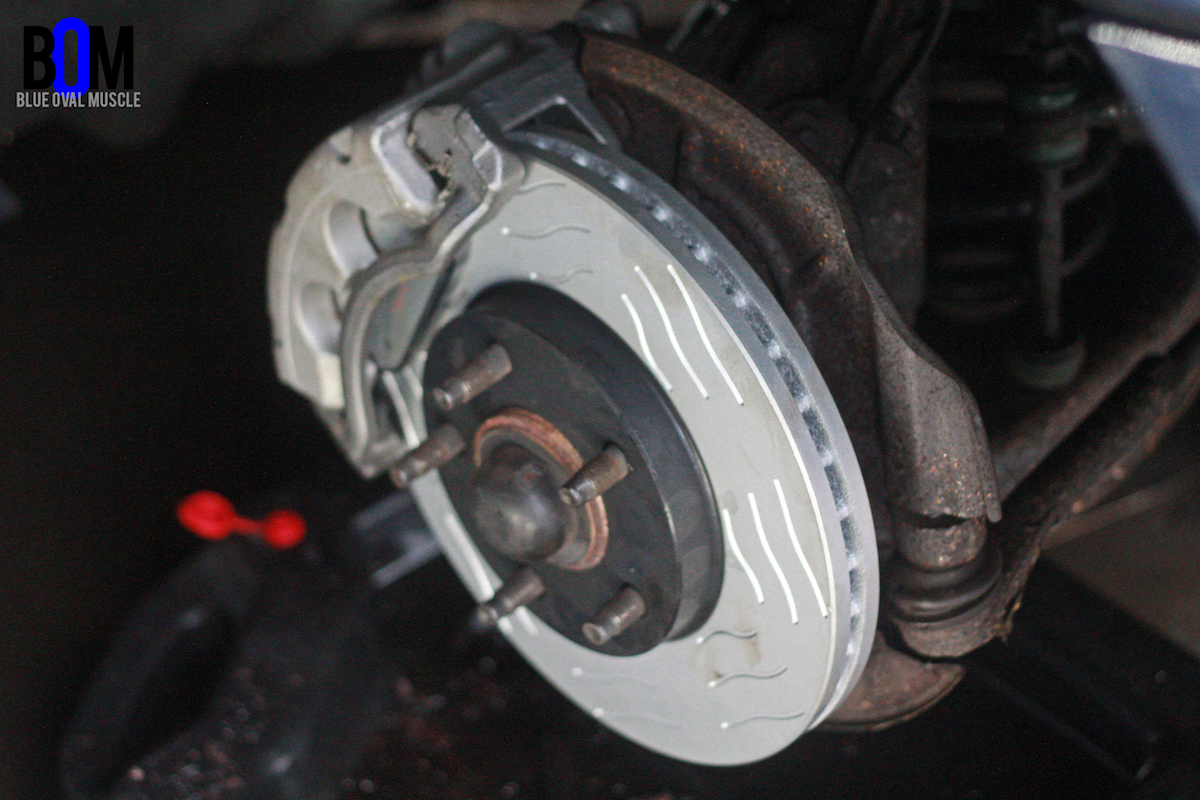
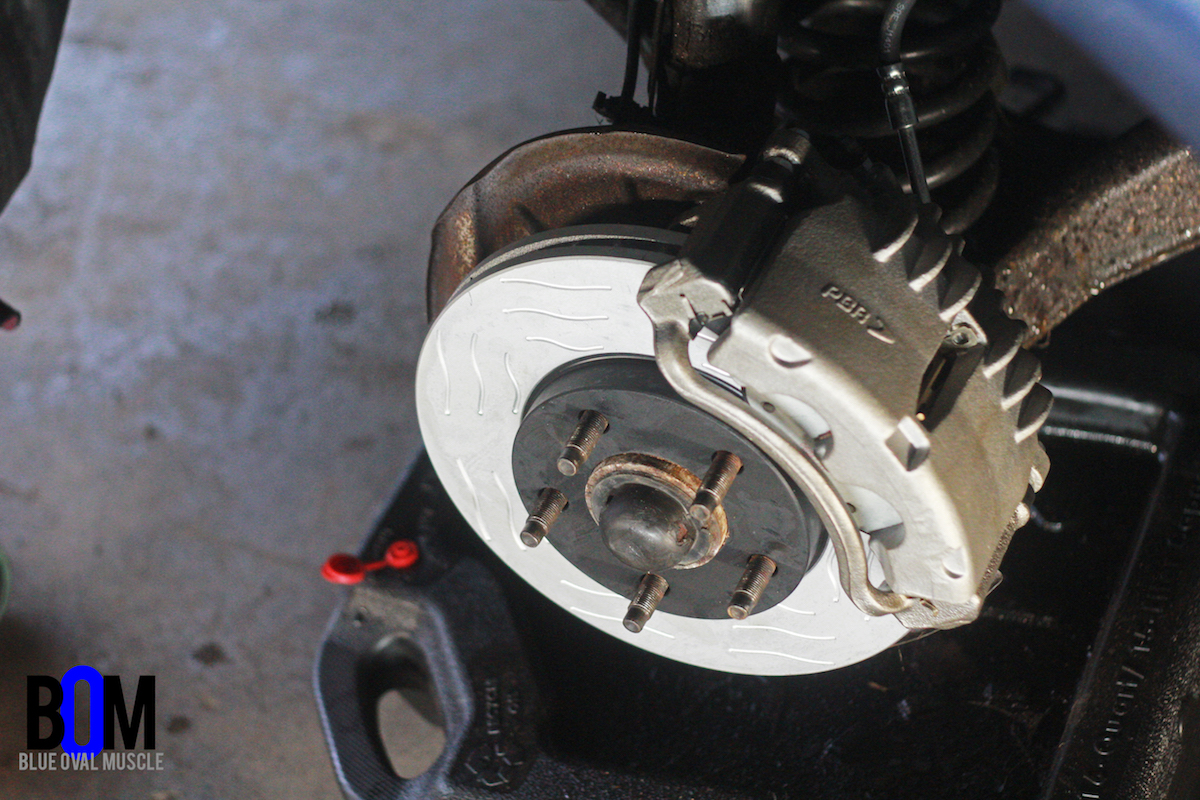
After cleaning the rotors and allowing them to dry, it’s time for installation. The new rotors and calipers go back on much easier than the old ones came off. Next was the tedious task of bleeding the brakes, which is much easier as two-person job.
We started with the wheel that’s furthest from the master cylinder (passenger side rear), then worked our way to the closest. After what seemed like hours of bleeding, working out the old fluid and eliminating any air pockets, the car was finally ready for the street. The car has some really dark fluid in its lines. A lot of it was probably the original fluid.

It was a great feeling button up the car in preparation to hit the pavement. Despite not having any baseline braking numbers (for obvious reasons), we did take the car for a spin around the block a few times. The roads were still kind of salty from the Ohio weather in early Spring, so we didn’t get a chance to compare our 60-0′ stopping distance, and compare them to what a stock 2001 Mustang GT was able to do when it was brand new. We also wanted to get some miles on the car to get the brakes to seat in properly, before we put them through any kind of formal testing.
With the tune-up complete, and the brakes fixed, it’s time to schedule some dyno time to get baseline numbers, and then it’s going to be onto driving and fine-tuning the suspension. We’re also going to put this thing through some regulated cornering testing, as well as drag-testing. Stay tuned!

Shawn Henry is a Texas native who has spent the majority of his career building and selling F-Bodies and Corvettes. Now studying journalism, he is taking a new direction with his love of GM Performance vehicles.